
Container Candles with Soy Wax
Originally posted on 3 January 2014
Soy wax is really lovely. It's inexpensive and ideal for container candles (a.k.a. the easiest kind of candle to make). It has attractive finished texture, a great fragrance throw, and it isn't a petroleum derivative. It is really the best place for beginners to begin adventures in candlemaking, if you ask me.
Yield: Three 8 oz. candles

what you'll need
three 8 oz. glass, ceramic or metal containers
three tabbed wicks, at least 1” taller than your containers
wick stickums, or a glue gun
1 lb. soy wax
double boiler or hotplate
thermometer
essential oils
3 pencils or skewers
A Note About Wicks:
Wicks come in different thicknesses for different sized candles and different types of wax. To make a candle that burns properly, selecting the right size wick is important. A wick that is too small will "tunnel", burning a small pool of wax down the center of the candle, never melting the outer edges; or simply extinguishing itself repeatedly. A wick that is too large will smoke, can present a heightened fire hazard and risk shattering a glass container. Please shoot us an email if we can advise you about choosing the appropriate wick size.

You can use just about any wide-mouth, non-flammable container to make candles in, but these candle tins make it super easy to get your wick perfectly centered!
1. Using a double boiler or a hot plate, but not direct flame, heat the soy wax until melted.

2. If your wicks are not pre-waxed, draw your wicks through the melted wax and lay aside, as straight as possible, to harden. This helps the wicks to stand up straight in the wax while your candles harden.
3. Continue heating until wax reaches 185˚F.
4. Remove from heat and add fragrance. Use .125 - .25 oz of essential oil.

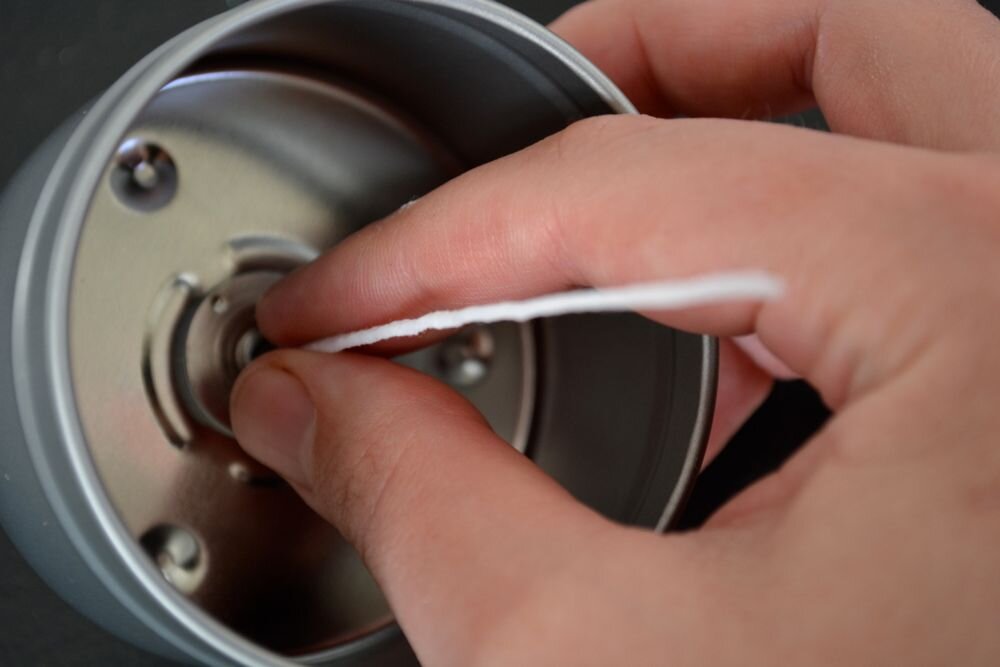
5. While the wax cools, glue the wick tabs down in the center of each container using a wick stickum (pictured) or glue gun. This will prevent the wicks from moving around once you pour.

6. When the wax has cooled to 135˚F, carefully pour it into your containers.
7. Using your pencils or skewers or whatever you've got, stabilize your wicks so they remain centered and perpendicular.

8. Leave your candles to harden overnight.
9. Once hardened, trim the wicks to 1/4” and enjoy!

Happy candlemaking!
Follow us on social media and use the hashtag #RevivalDIYs to share your project with us—we’d love to see what you create and answer any questions you may have.